Admin User Training: Editing a Point
To Edit a Point on SoniCloud, please follow the steps listed below:
1. On your main Area page, click the Edit button in the top right of the Grid View or Floorplan View.

2. A Toolbar will appear. Make sure Edit is highlighted.

3. Select the name of the point you would like to edit.
4. In the Point Info section, the first field you can edit is Point Name. Sonicu recommends making your point name as specific as possible. When you receive an alarm from Sonicu, the alarm notification will give you the point name and the reading. If you do not have a specific point name, it may be difficult to determine which point is having issues. There is no character limit on point names.

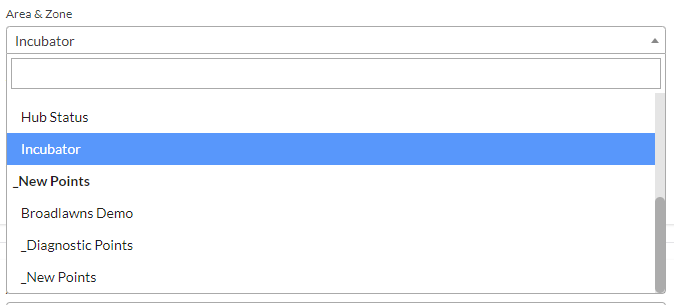
5. The second field to edit in the Point info section is Area & Zone. This is a drop down list that contains all zones on the site.

Click the drop down arrow to show the list. Select the Zone where you would like the point placed.

6. The next field that can be edited is Transmission Frequency. Do not edit this field. This should only be edited by a Sonicu Tech Support person. Changing this field will not affect how often your meter checks in.

7. The last field in this section that can be edited is the Scaling Profile. This field is what allows you to choose between Fahrenheit and Celsius temperature profiles. Select the appropriate setting for your site.

8. Once you have finished making you desired edits to your point, click Save Point at the bottom of the page.

For additional questions regarding Editing a Point please contact Sonicu Support for assistance. Sonicu Support can be reached by email at support@sonicu.com or by calling (317) 468-2345. Sonicu Support is available M-F 8 AM- 5 PM EST.