Special notes to consider prior to installation
1. Most CRYO tanks have a standard sensor placement through the sensor port on top of the tank. If you have clearance for the lid to have a new sensor port drilled, you can drill the plastic/styrofoam lid of the cryo tank providing a way to properly run the Sonicu sensor or you can purchase a new cryo tank lid with an additional port.
2. Cryo installations can use either Sonicu ULT Sensors or Sonicu Cryogenic Sensors.
3. Be sure to seal the port with Plumber’s Putty or sealant after running the sensor/sensor cable through it.
Installation of your Cryogenic Sensor Instructions
1. Check your appliance for a dedicated port that you can use to feed the sensor cable. This port is often on the top of the appliance and is usually close to 1 inch in diameter. If your appliance does not have a dedicated port, you will run the cable through the lid of the appliance, or the previously mentioned drilled sensor port.


2. Inside your appliance, choose where you want to place your Sonicu Sensor.
If you are wanting to monitor the vapor of liquid nitrogen, be sure the probe is not touching the liquid nitrogen when placed into the cryo tank. If you are wanting to monitor the level of the liquid nitrogen, be sure the probe is at the proper depth to be in contact with the liquid nitrogen.
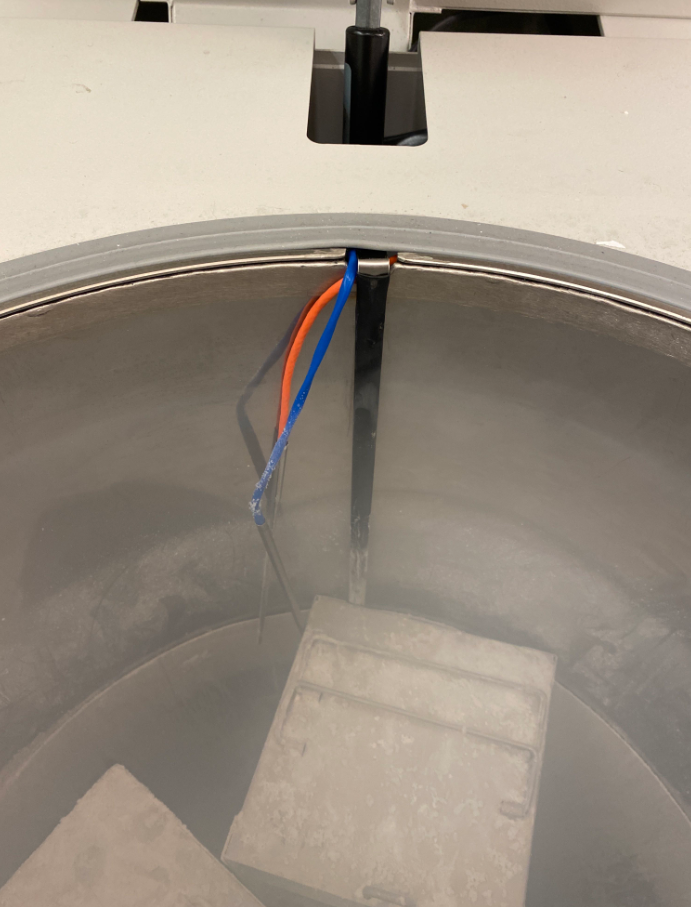
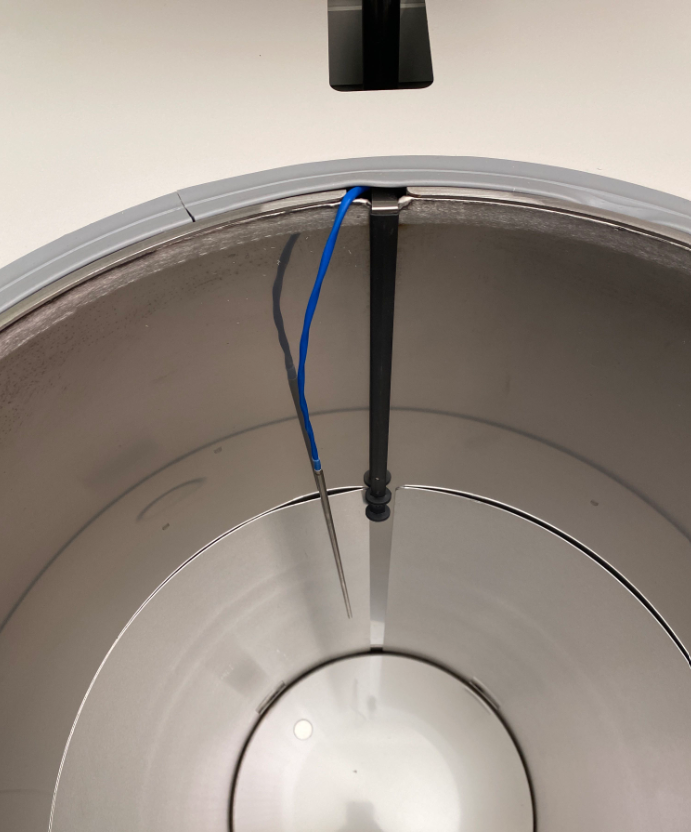
3. Secure the sensor in place with zip ties and tie blocks or other cable management devices if necessary.
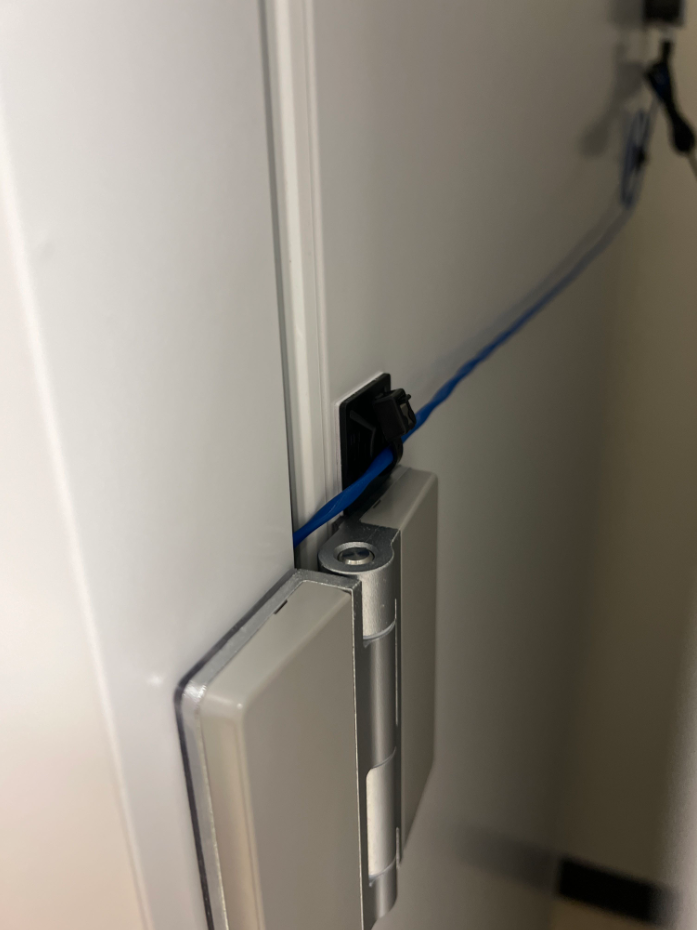
4. Run the cable through the provided or created sensor port, and into the desired input on the underside of your SoniShield Duo. Make sure that the sensor cable is taut and not sagging.

For additional questions regarding Cryo Sensor placement, please contact Sonicu Support for assistance. Sonicu Support can be reached by email at support@sonicu.com or by calling (317) 733-5556. Sonicu Support is available M-F 8 AM- 5 PM EST.