Special notes to consider prior to installation
1. Most refrigerators, freezers, and fridge/freezer combos have a standard sensor placement which is at the central depth and height of the fridge.
2. Helmer has requested our sensors to be placed in front of their proprietary sensors for all their refrigerators and freezers.
3. Depending on the manufacturer of the appliance, a third-party sensor port may be available. These ports are usually located on the top, side, or back of the appliance. ALWAYS use this port to run the sensor cable if possible.
4. If your appliance has a port, make sure to seal the port with Plumber’s Putty or similar after running the cable through it and securing the cable to the meter and cable management is complete.
5. Blood Bank – If the blood bank monitoring is being installed as a dual monitoring kit, the desired placement of the Sonicu sensors will be different. One sensor should be placed toward the top of the blood bank refrigerator and the other should be placed toward the bottom of the refrigerator.
Installation of your SoniShield Duo/Glycol Sensor
1. Check your appliance for a dedicated port that you can use to feed the sensor extension cable. This port is often on the back or side of the appliance and is usually close to 1 inch in diameter. If your appliance does not have a dedicated port, you will run the flat extension cable through the door hinge of the appliance.
2. Inside your appliance, choose where you want to place your Sonicu Sensor. It is recommended to place the sensor as close to the middle center of the appliance as possible, ensuring that it is not near the appliance’s compressor, which could skew readings.
3. Insert your Sonicu sensors into the desired inputs on the underside of your SoniShield Duo. Plug the male end of the extension cable into the meter’s input. Sonicu extension cables come in 3 different lengths, 6ft, 15ft, and 25ft.
4. Plug the female end of the extension cable into the sensor and be sure it is connected securely.
5. Run the included flat extension cable through the door hinge, or port, and into the appliance. Make sure that you pull enough of the cable through to reach the location where the sensor is to be placed.
6. Attach the sensor to the appropriate cable and secure the sensor in place with zip ties and tie blocks or other cable management devices. (See reference pics below)
*Special Note* If using zip ties to secure your Glycol sensor, be sure to not tighten the zip ties too securely. During calibration, you will need to be able to remove the Glycol sensor and replace it with a new sensor.
Installation Images
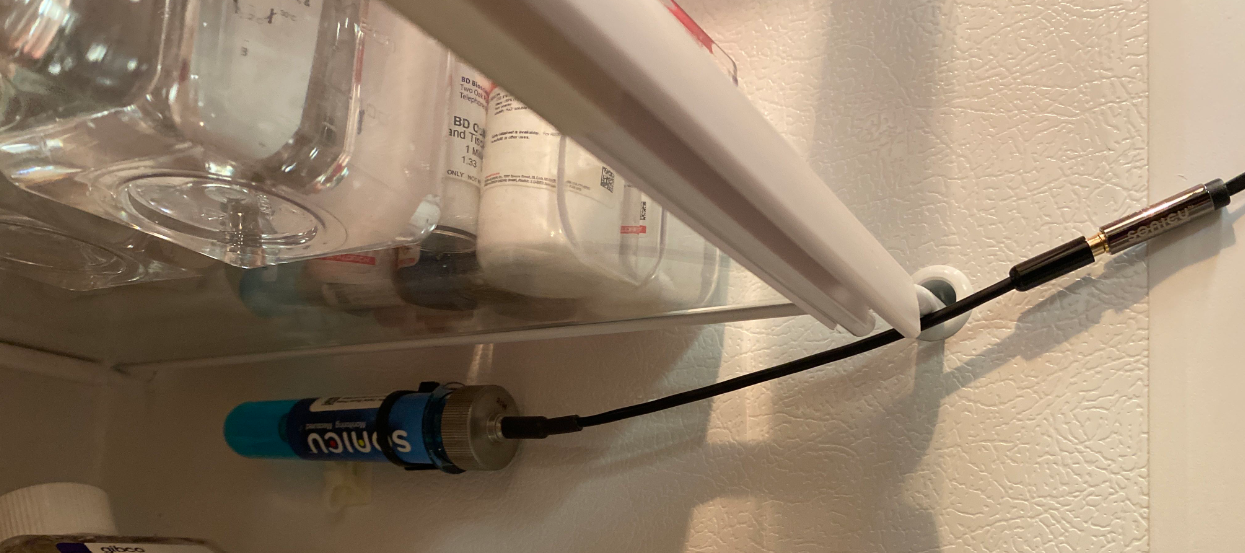
Drilled hole to accommodate
power & cable management
on walk-in freezer

Thermo -20 Freezer with port

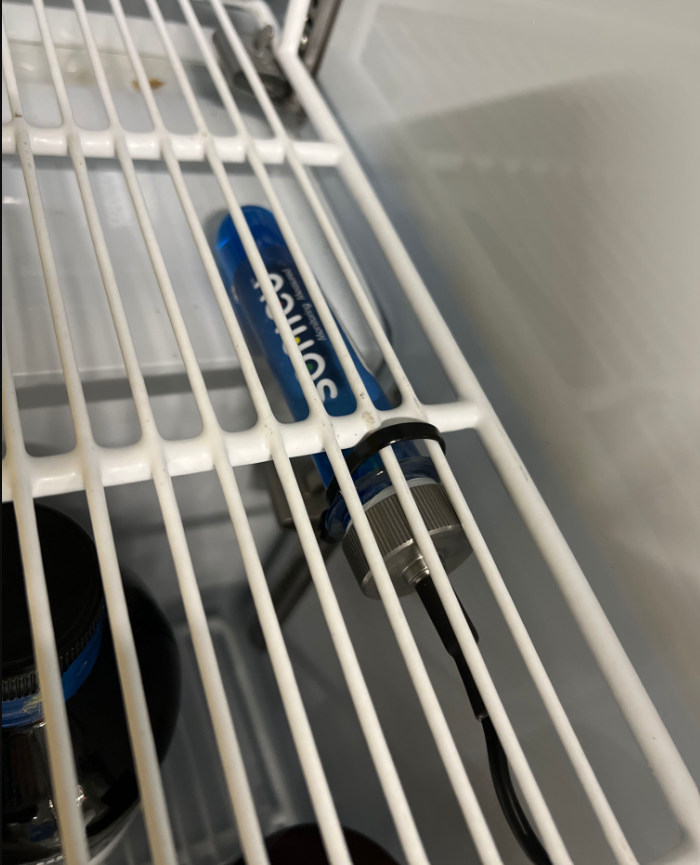
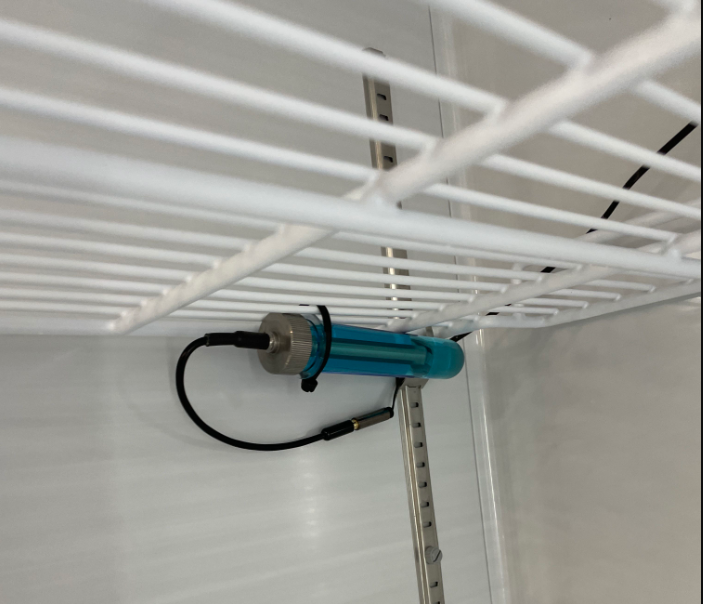
Middle rack of refrigerator Edge of the refrigerator under the rack
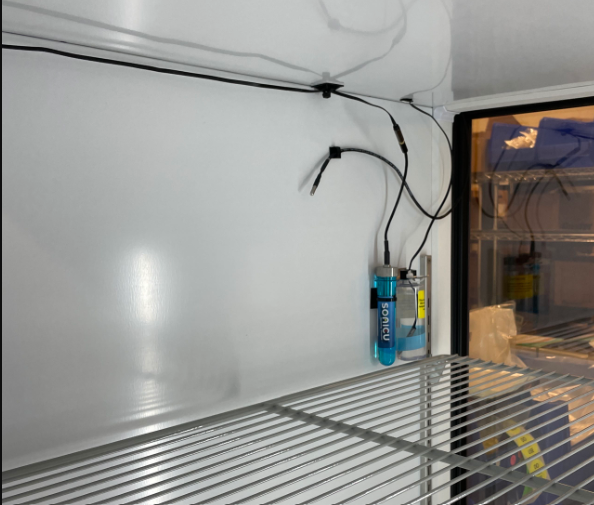
Glass rack refrigerator with side wall sensor installation
Sidewall installation Sidewall installation

For additional questions regarding Glycol Sensor placement please contact Sonicu Support for assistance. Sonicu Support can be reached by email at support@sonicu.com or by calling (317) 733-5556. Sonicu Support is available M-F 8 AM- 5 PM EST.